A Step-by-Step Guide for Configuring SDM630MCT Three-Phase Meter DIN Mounted Meter
Today, DIN Rail power meters have become essential components in industrial control systems. A secure and reliable mounting system capable of withstanding heavy vibration makes DIN Rails a demanding piece of equipment in the electrical manufacturing sector. DIN Rail meters need to meet all the safety and security standards aptly, being a viable component for the installation, maintenance, and operation of other electrical devices. Additionally, the correct configuration can prevent any hazardous accidents. Also, faulty installation can impair the device from sharing accurate energy usage data.
Among the top DIN Rail manufacturing companies, Eastron Europe’s metering devices are best known for their quality features, compact design, and reliable and safe usage.
Eastron Europe specialises in portable and compact DIN Rail-mounted meters with a simple installation process to give customers an overall frictionless experience. The electrical manufacturer also provides a demo configuration video for each piece of equipment, enabling customers to get optimal service from the company.
DIN Rail Meters Single/Three Phase Series from Eastron Europe – A Brief Overview
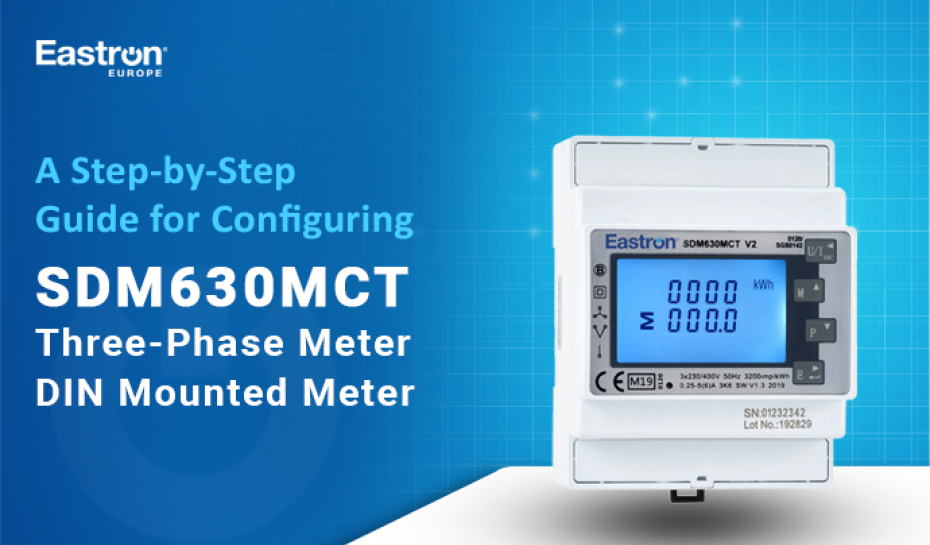
Single Phase and Three Phase series of DIN Rail mounted meters from Eastron Europe are advanced energy monitoring solutions suitable for industrial control systems. With features like a backlighted LCD and a scroll display button, end users can have effortless parameter navigation. DIN Rail meter series, SDM630MCT and others measure various energy parameters, such as active and reactive energy, power and power factor, voltage, current, demand, and frequency.
Some unique features of mounted meters from Eastron Europe include:
- Simple and intuitive menu navigation
- Measures active energy, reactive energy, power, voltage, current, power factor, demand, and frequency
- Simplified installation process with compact design
- IP51 protected and UK certified according to EU Directive 2014/32/EU
- Modbus and Pulsed outputs or optional Mbus interface
MID Certificate number 0120 / SGS0141
How to Install Three-Phase DIN Rail Mounted Meters?
The configuration video for DIN Rail metering device SDM630MCT will guide you through correct wiring and setting up a three-phase meter with a current transformer (CT).
Here’s a step-by-step process to install a mounted meter like SDM630MCT.
Step 1: Understanding the Model and Its Parts
- SDM stands for Sub Distribution Meter
- 630 represents the 3 Phase meter range
- M indicates Modbus 485 serial communication interface
- CT signifies current transformer
- The CT is connected to each phase for current flow measurement
Step 2: Meter Orientation and Power Connections
- You can locate the voltage reference terminals at the bottom of the meter
- Terminal 1: Neutral
- Terminal 2: L3
- Terminal 3: L2
- Terminal 4: L1
- Supply these terminals with 3-phase power via an inline 1A fast blow fuse for each phase
- Connect auxiliary power supply
- Terminals 5 and 6 are used to power the meter itself
- The auxiliary power is either supplied via a circuit breaker or linked to terminals 1 and 4
- Terminal 7 (Live) and terminal 8 (Neutral) can be used to power other meters or loads
Step 3: CT and Modbus Connections
- Locate terminals for pulse output, Modbus, and CT connections on the top of the meter
- Connect CTs
- Terminals 15-20 are for CT connection
- Connect Phase L1 CT to terminals 19 (S2) and 20 (S1)
- Connect Phase L2 CT to terminals 17 (S2) and 18 (S1)
- Connect Phase L3 CT to terminals 15 (S2) and 16 (S1)
Step 4: Setting CT Rate
- Determine the CT rate based on your CT specifications
- Example: CT rated with an input of 200 Amps and output of 5 Amps, CT rate = 200/5 = 40
- Enter CT settings
- Hold down the E button
- Enter password 1000 by using Up/Down button
- Use ‘Enter’ to move the cursor
- Scroll through the menu until you see CT2
- Set CT2 output/secondary to match CT (e.g., 5 Amp)
- Set CT rate to desired value (e.g., 40)
Step 5: Modbus and Pulse Output Connections
- Terminals 12 GND, 13 B, and 14 A are for Modbus RS485 communication
- Terminals 9, 10, and 11 are for pulse output
Step 6: Final Checks
- Ensure all CTs are rated the same and connected correctly
- Connect CTs to the correct terminals (S1 and S2)
- Orient CTs correctly on phase conductors (arrow denotes current flow direction)
- Ensure CT connections to the meter are correctly colour-oriented (black to S2, white to S1)
The Final Takeaway
In Eastern Europe, we prioritise quality, innovation, and service above all. Besides innovating new technology-empowered quality metering devices for our clients, our primary focus remains delivering premier service to end users. As an integral part of our quality service, we provide a complete knowledge transfer of installing, using, and handling our electrical equipment like DIN Rail mounted meters. The embedded video on SDM630MCT will walk you through the simple configuration process step-by-step so you can leverage the device optimally without damaging it or accidentally triggering hazardous incidents. For further enquiries, you can always reach out to our support team.